


More from Less
Too much has been written already about AI Art and how it is killing puppies.
But even people like me who enjoy playing with generative AI tools still don't like finding AI-art-based images mixed in with images made by humans the old-fashioned ways—by hand (analog art or digital painting, or pixel art), by camera, or by CGI. When I'm looking at photos, I don't want to see some random fake non-photo mixed in there. When I'm looking at art made by humans, I want to see art made by humans. Perhaps just share AI art in places where AI art is shared, with a prominent label. If we don't cross the streams, perhaps fewer people will get cranky.
Given that starting place, this article documents the tail-end of a long multi-year process of human-machine hybrid image creation. (I won't call it art because it makes the anti-AI knee-jerk brigade come out of the woodwork.) But assuming the reader is not some sort of Luddite, he may follow along.
And this article is not about the images themselves, per se, or if this is good or bad for artists or for society as a whole, or even about AI itself, it's about what one programmer figured out how to do with certain tools available today. This is actually a programming journey.
What Are We Even Talking About?
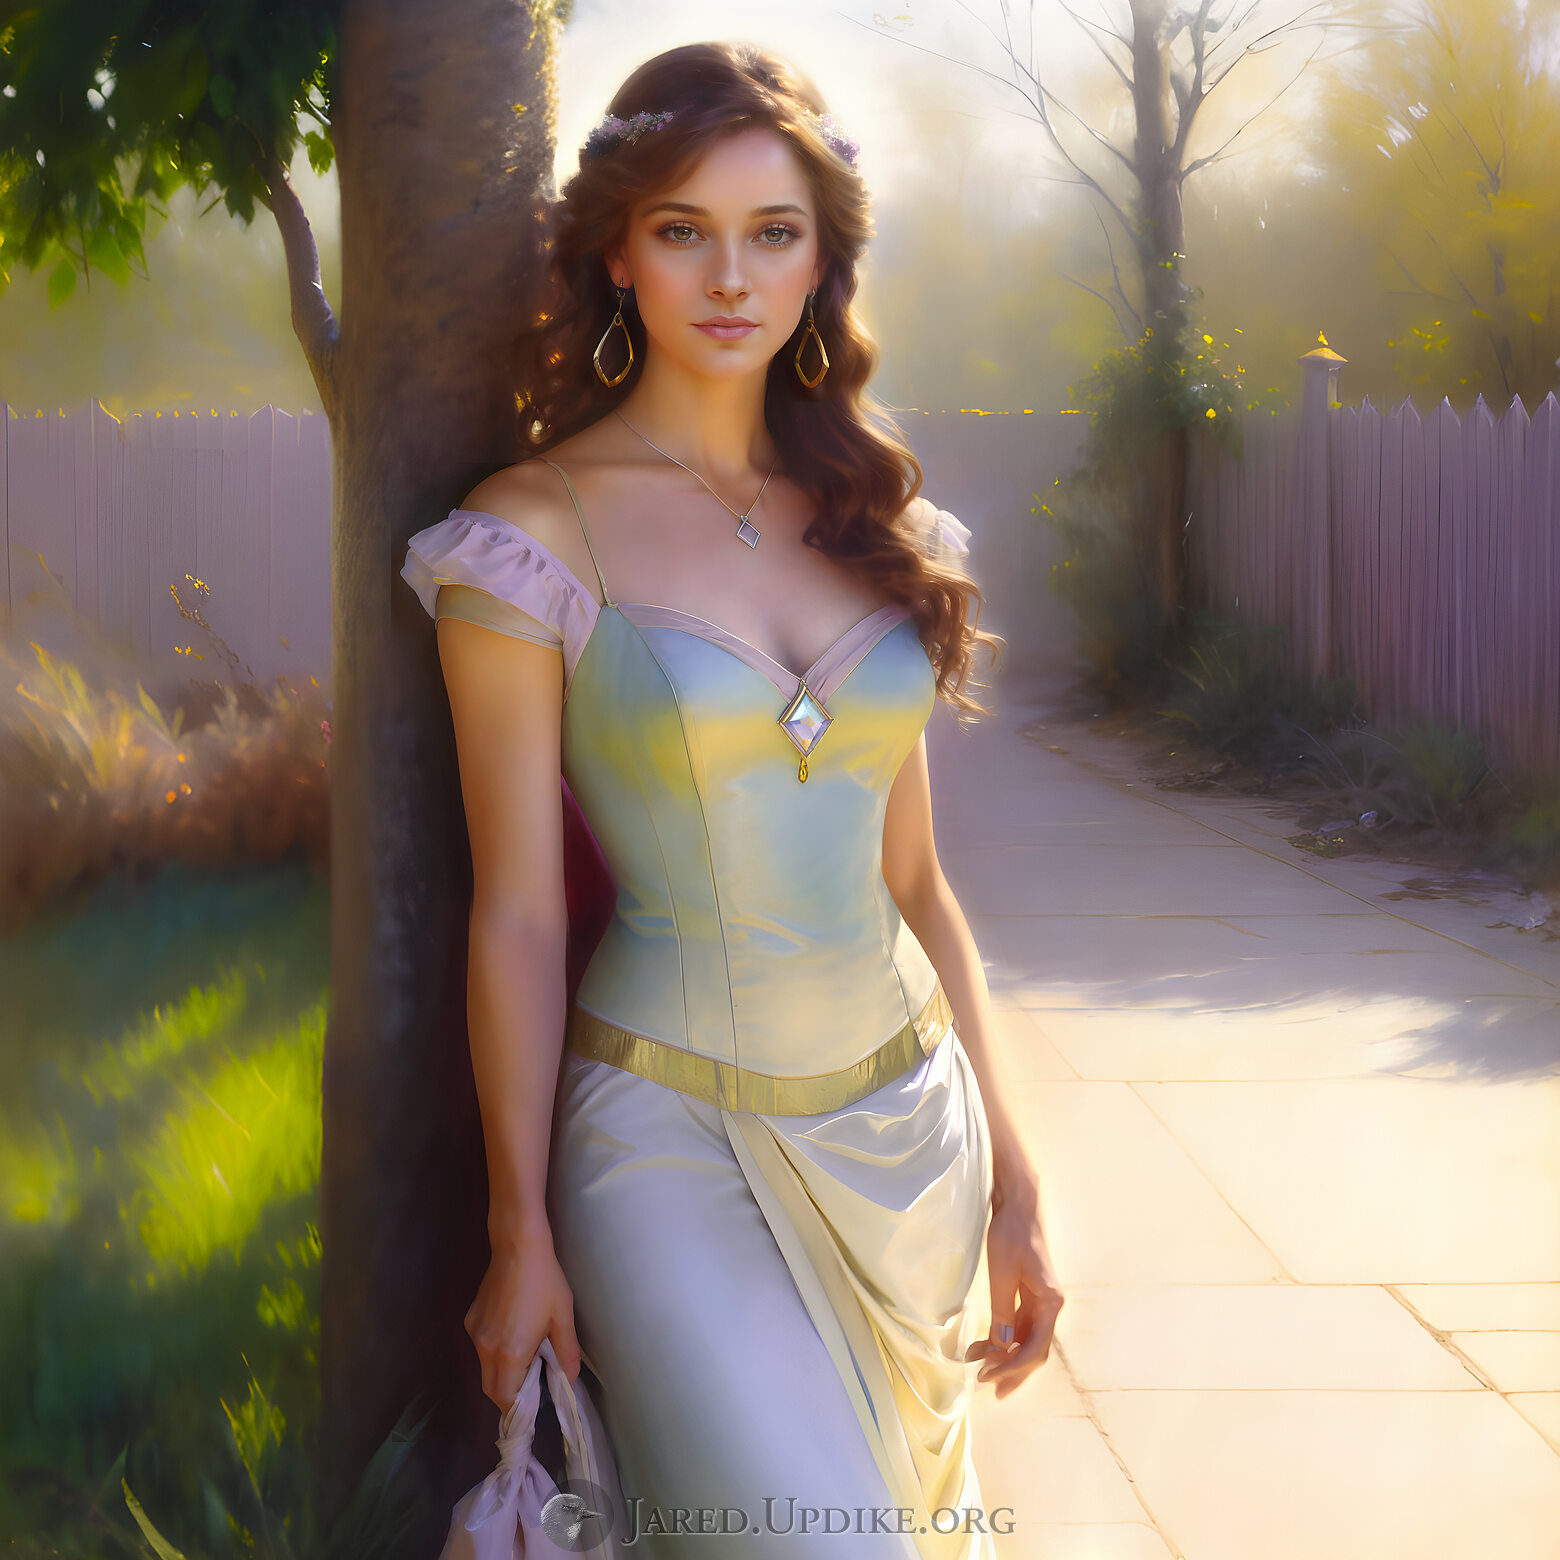
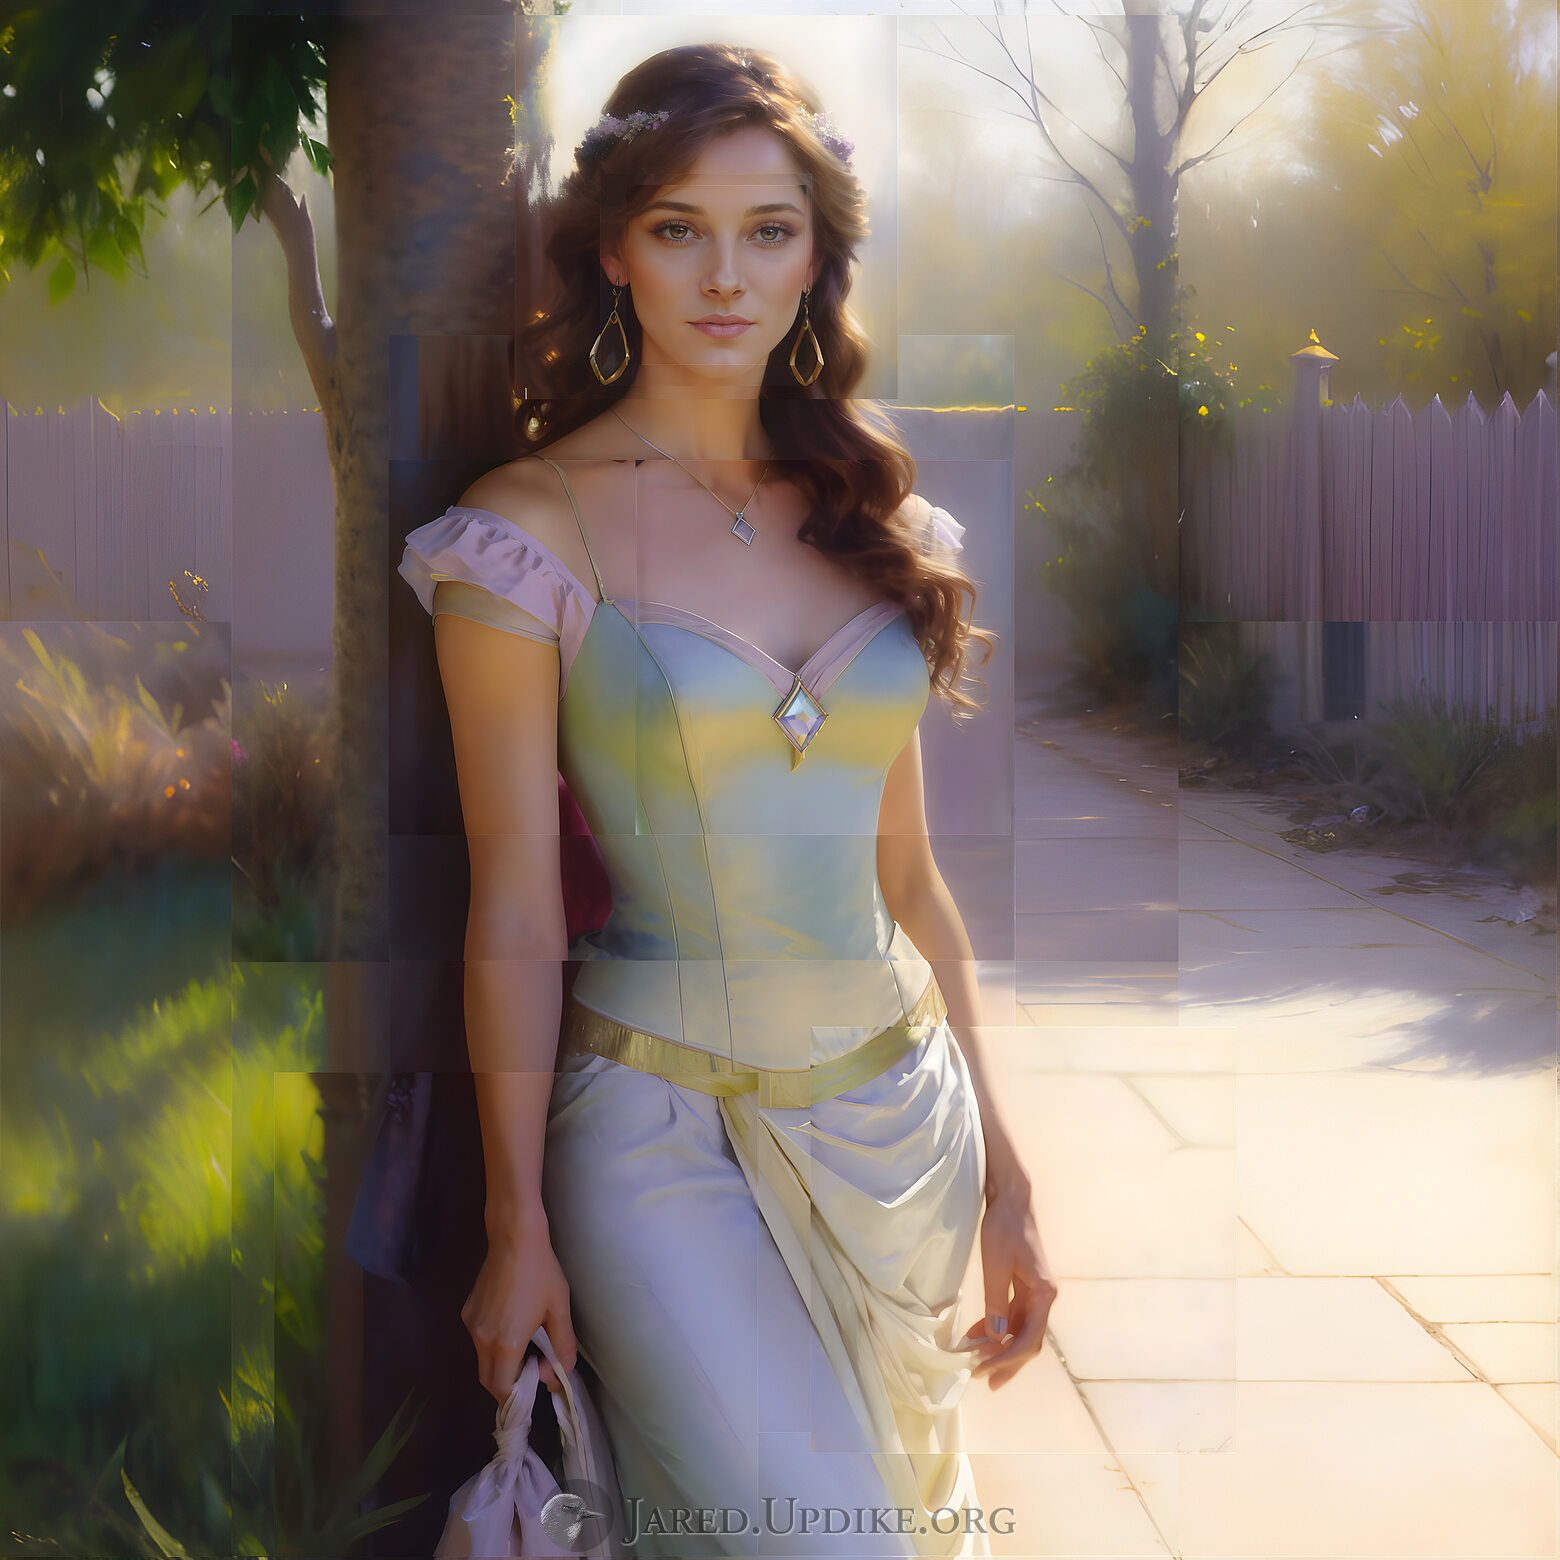
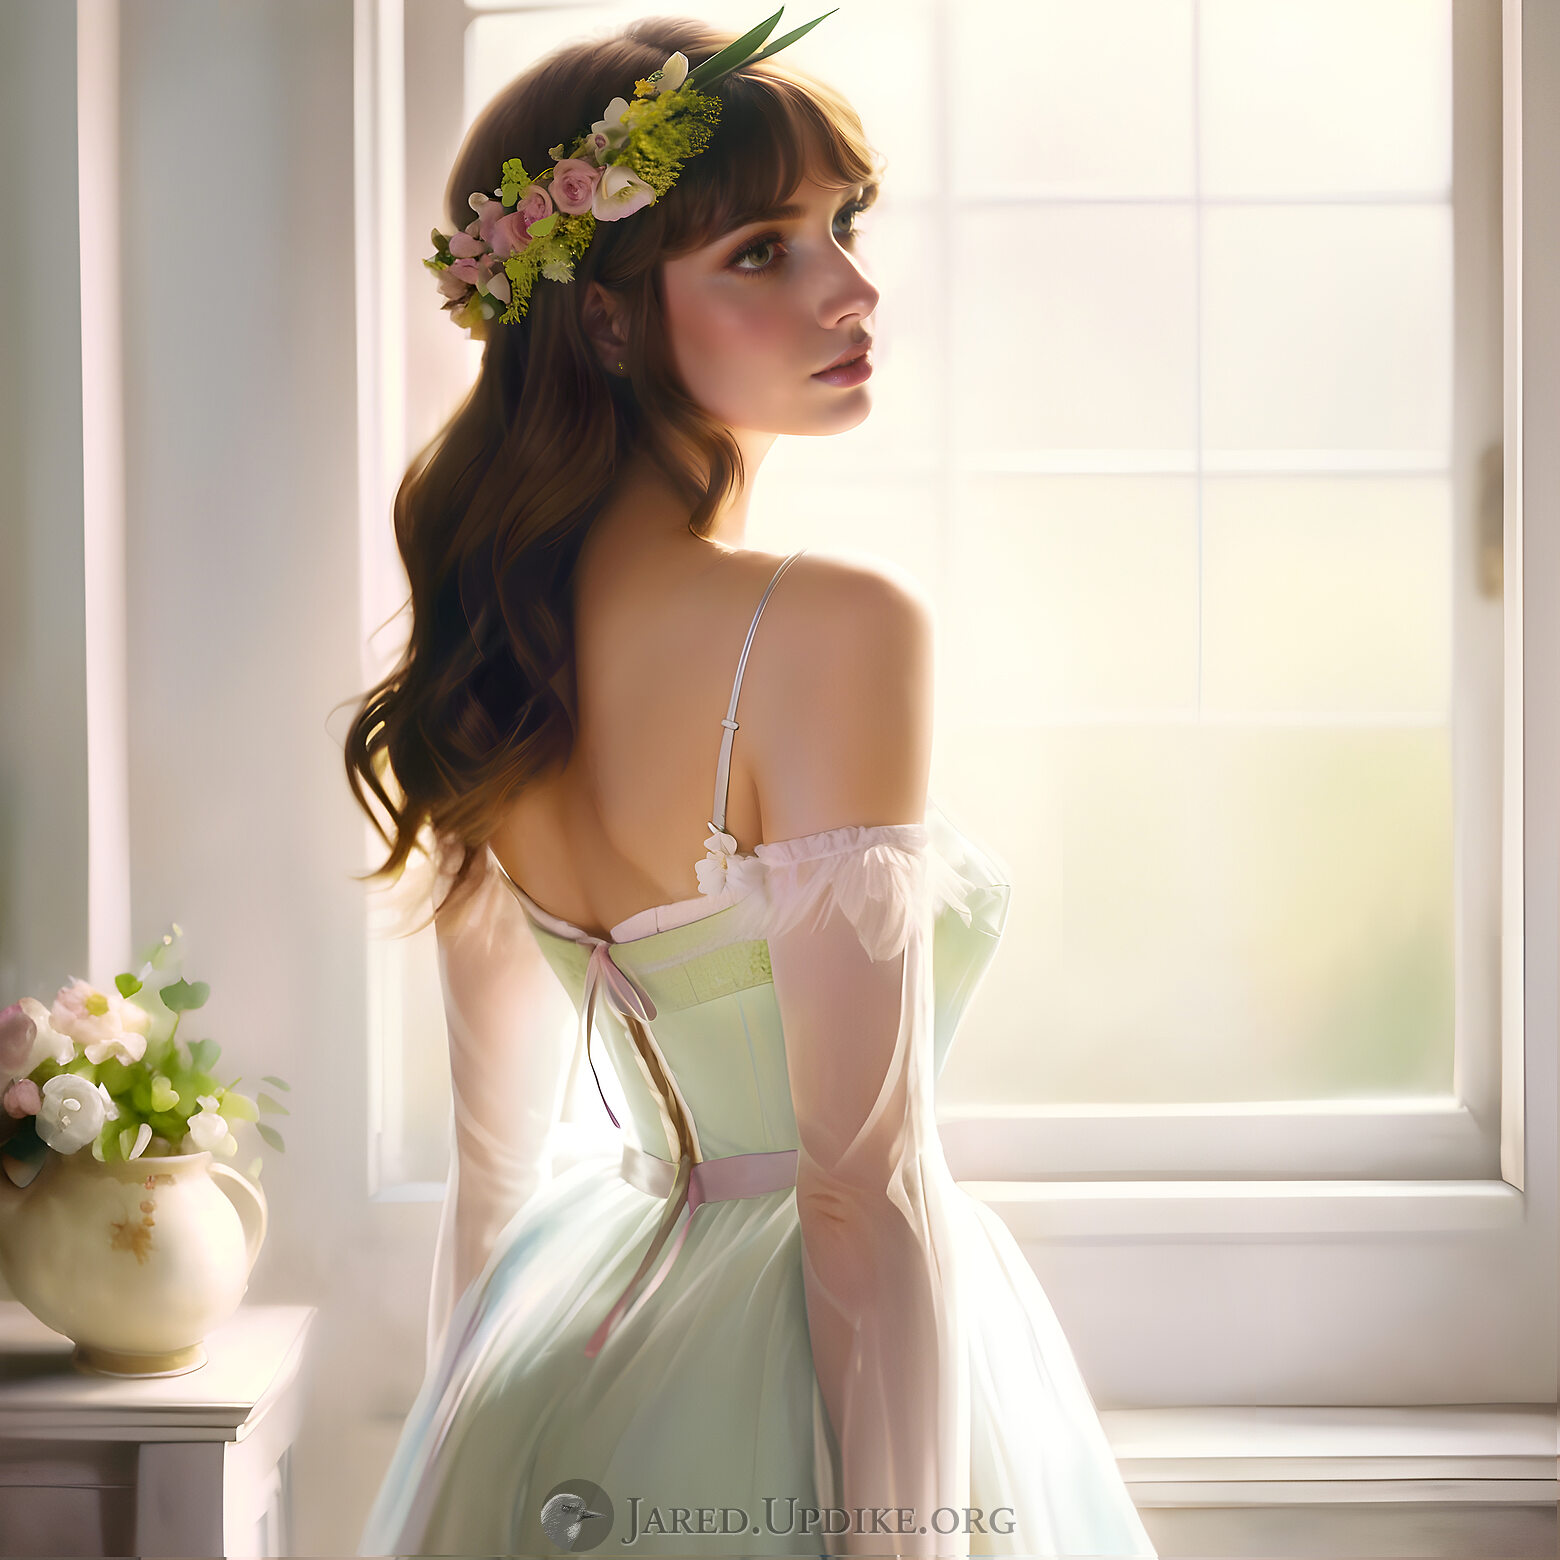
My goal has gradually crystalized into this: overcoming the resolution limits of image generation tools and create appealing super-high-resolution poster-sized images, up to 8k or in the 30 Megapixel to 60 Megapixel range (example 1, 2), with increasing level of detail in places that make sense.
For the purposes of this article, assume the subject is portraiture/figurative and the max level of detail on the image is at the face. The background would naturally have less detail, as in an oil painting or a photograph with a depth of field effect. This artfully tells the viewer where the gaze should return to. This requirement of actually having detail when zoomed way in (for at least some part of the image) precludes simply depending on Topaz Gigapixel AI to turn an image of 1.5 Megapixels (or as low as 0.25 Megapixels) into anything nearly big enough. Gigapixel upscaling can achieve a lot, but without the newer generative features, it can't achieve miracles. But my process can.
Original, Painfully Slow, Too-Manual Process
My initial process involved using Wombo AI art online (from an iPad) to generate an image, then cropping the image repeatedly and doing Image-to-Image to create successively more detailed areas of the image (two nested crops of the original image, the third image generated from a crop of the second). The sad part was trying to take these assets, all the same size, say three images 1080 wide by 1920 tall, and combining them into a single image without upscaling artifacts. Naively upscaling using Bilinear, Bicubic, or even Lanczos will result in "screen-door" artifacts on the "zoomed out" parts (less detailed parts) of the image. (This also create problems for the final "free" 2x upscale in Gigapixel AI—again no miracles are possible once these big jaggies are introduced.)
Necessary Evil: Manual Scaling & Alignment on my Mac
So I began using Topaz Gigapixel AI and a lot of manual calculation and nudging and scaling to get the three images (for this one very simple example) into a shared pixel space without artifacts. It can be easily done but requires this very manual, very error-prone, very boring, very mechanical step before the images can even be masked to make a single image. But Gigapixel charges $2,000 for API access (on my own machine, offline!) so I cannot automate this painful step. (... or can I? ...)
The Fun Part: Masking and Manual Painting on iPad Affinity Photo
For me, the fun part is to take the PSD file (or in my case, Affinity Photo layers document) from my Mac (the only place where Gigapixel runs) back to my iPad (where I generated the images using an online image service such as Wombo AI Art) so I can manually mask the layers together, fix problems with actual manual digital painting, and apply final adjustments such as levels, white balance, manual local dodging and burning, etc.
Enter Mochi Diffusion
In 2024, less than a year ago, I got my hands on an Apple Silicon Mac—in this case the oldest 2020 M1 MacBook Air, the cheapest Mac laptop you can buy used, a device with no fan and 20-hour battery life. Apple has shipped Apple Silicon devices with Neural Engine cores on mobile devices such as iPhone and iPad for many years now, and getting this technology on a laptop opened up some really amazing avenues. Apple ported Stable Diffusion to run on CoreML, meaning it can use GPU cores or lower-power Neural Engine cores to run SD at an almost respectable speed on commodity mobile hardware. What I mean is that you don't need a $2,000 Nvidia GPU inside a massive box with huge loud fans and a 1,000 W power supply, you can play with this technology on a device with no fan, running on battery power.
Some amazing enthusiasts have pushed this forward, in terms of native Mac UI, in the form of an open-source project called Mochi Diffusion. Getting the code for this and compiling it allows a tinkerer like the author to add many crazy new features, to begin glimpsing what people have been doing for years on dedicated kilowatt hardware using A1111.
The first feature I added was the ability to favorite images as Mac-native Finder color tags. This got accepted into Mochi Diffusion and is shipping right now.
The Latest Process
My latest process is quite convoluted, but produces the highest quality and quantity of amazing results I can muster. Think controlled chaos, with a certain amount of manual control, leaving room for wonderful surprises.
Batching Prompts & Madlib-style Canned Faces
The first feature required to get piles of useful starting places is the ability to batch run dozens or hundreds of prompts from a text file. (This was simple enough to add to my experimental branch of Mochi Diffusion and is obvious. A1111 has had this for a while now too, obviously.)
In order to get good results for portraiture/figurative images, it helps to have a pile of "canned faces" filtered from an even bigger pile of "blended faces." I won't go into detail but imagine a simple madlib Python script with a long list of pieces of text prompts which when combined generate stable, deterministic results that are unique and repeatable. These result faces vary widely but a good madlib generator might produce perhaps 25% keepers and 75% ugly faces. Generate a giant text file, run this overnight using batching, then comb through the results and favorite the best ones using the feature I added to Mochi Diffusion. Since the color tag is stored in the file system resource fork, you can just copy or move PNG files around in various folders (on Apple OSes). So your folder of copies of best PNGs is actually also a list of the best "canned face" prompts, for the next step. (You also need a command-line prompt puller Shell/Python script that can use the open source Exiv2 library to turn a folder of PNGs back into a text file).
Rows and Columns
The next trick is to use the text file of canned high quality faces prompts as rows in an even more complicated x-y batching mode (yet another feature I added to my experimental development branch). The columns are more complicated, but they involve a folder full of collected-up images with an index text file of prompt templates and strength values for those images (with a wildcard to leave a spot for the row prompt “face” in there). X-Y batching begins by shuffling all rows and runs over N random columns per row, where N is set in the UI as the Number of Images field. Columns can be thought of as poses or compositions or outfits, and the inner prompt "canned face" gets spliced into the larger column's prompt template. This batch can be run for hours or overnight to get hundreds of low-res starter images which can be curated down to dozens of great starting point images, which can be upscaled with my complicated process, below.
Columns & Cross-painting
Creating the images in the columns folder and related prompts is its own art form, and requires a lot of patience and experimentation. But this is also a huge part of how to get top notch results, building on years of collecting up awesome intermediate images, usually improved by cross-painting (manual inpainting of several nearly identical low-res images into a single optimized image) and correcting all of this messy output. Then the process can create endless variations with different faces using these poses and compositions as starting places.
Project Mode
I added an easy-to-use (but complicated-under-the-hood) Project pane to Mochi Diffusion that can help automate my fiddly upscaling process without relying on Gigapixel AI. Instead it uses the wonderful open source RealESRGAN upscaler, which is "good enough" to glue the whole process together, especially since it can all be automated.
Project Mode begins with a single low-res 512x512 PNG generated on my limited machine using just Neural Engine cores, using SD1.5 models. A single keyboard shortcut copies the prompt from the image to the UI, then the remaining parameters can be set by the user (notably Strength, which means Text Strength). The magic values that seem to work for this part of the process range from 0.25 but 0.3 but other values may work, depending on the SD CoreML model file you are using. (0.25 means 75% like the image, so details are added but mostly this is like a generative upscale at every step).
The user selects an image in Mochi Diffusion and enters Project Mode, which opens the starter PNG file (captioned "1.", a full, zoomed out composition) and creates a new unique folder where a pile of 512x512 images will be written to disk. First my code uses Apple's built-in Computer Vision tools for face and pose detection, along with tons of heuristics, (captioned "2.") to create a tree of complicated nested rectangles with explicit coordinates in the starter/original image space, all in a split second. Before doing the automated complicated process (below), the user gets to see how small the smallest rectangle is (face usually), relative to the starter image, with a scale number. For a typical figure this could be anywhere from 6x to 12x, but generally around 8x or 9x. This multiplier will set the scale for the final layered set of images and is very important in making the whole thing work without artifacts.
Project Mode has an Enqueue button so batching can be used yet again (for the third time?) after perhaps dozens of great starter images have been found. Enlarging a low-res image from 0.25 Megapixels into perhaps 20 Megapixels (so 80x for just the upscaled input image, and hundreds of times the number of total pixels, counting all the layers) takes about five minutes per project, so batching allows everything to run in succession in a fully automated fashion, perhaps overnight.
PSD for the Win
What is the output of each Project? Each project folder fills up with 512x512 images, which the Project collects location information about so it can create a giant layered PSD file at the end. Each image is first Crop/scaled from a 512x512 image before running SD Img2Img Generate on it. ("Crop/scale" is just "crop some part but scale back to 512x512" before Img2Img). In this manner, final images will have decent quality for their size, but cannot be combined into a coherent whole without first being intelligently uspcaled into the same pixel space (using RealESRGAN and not bilinear or bicubic or whatever). The final step just combines everything in the following manner: first, scale the widest image to the max scale (say, 8.5x), then next scale subsequent images in the stack of images less and less, until the final tiny face images which are like 1.25x and 1x. These images are added to a PSD document and written out to disk as a giant file, perhaps 100 MB to 500 MB depending on the full resolution. (Affinity Photo documents losslessly compress this to about 3x or 4x smaller, in practice, and PSD files themselves can be compressed more than my PSDWriter library supports.)
Here is an example of the automated PSD output of the process (captioned "3.") for one original low-res starter image, 512x512. Again this process is dependent on the fact that the "canned face" is known to look good as we zoom in. The prompt already has this information and can control the face. It's like cheating and knowing the future. The whole process is very dependent on this part of the prompt, to get controlled results, instead of requiring luck for those details. It's kind of like rendering a fractal at more and more zoomed in scales, where the formula is deterministic and simple but more detail is revealed with further computation. Similarly, we have mined the SD model for each fully structured 3-D face model "formula" that can be represented with a few hundred bytes of text, and given enough computation, can be revealed at any scale, lighting, pose, etc.
The PSD file for this is available as a ZIP here, 150 MB unzipping to 250 MB, if you want to see what the layers look like, and try turning them on and off, and imagine masking all this mess together into one beautiful image. Another reason this process works is that there is so much redundant information that the human manual masker (see below) has enough valid data to reject some of the often bizarre results that will inevitably creep into the PSD file. Those layers can simply be deleted.
I am not opposed to uspcaling a finished, adjusted image one final time, manually, using Topaz Gigapixel AI, to get the final 8k image (7680x7680), available here, 59 Mpix @ 8 MB. I think these kinds of results are stunning, and I can create several fully realized images in a day once I have the PSD files in hand, which again, is pretty easy, given all this batching and curating that goes into getting a handful of great starting point images.
Major Caveat: Manual Masking Required
This whole process is heavily dependent on manual human masking of the PSD layers at the end, as many as one or two dozen layers. The results of masking for this example are captioned "4." above, before final adjustments. I've tried to automate this using Inpainting ControlNets but the version in MochiDiffusion is unusably slow and produces very poor quality results. But I find this masking a mostly pleasant process, like knitting or whatever, which is very low-key and amendable to music or podcast listening. Take the highly portable iPad anywhere with decent seating, sit down, lean back with the iPad in one hand and Apple Pencil in the other, and mask away. Also, some manual digital painting may be required, and some adjustments at the end can help put things over the finish line (captioned "5." above). Another example of running through this entire proces is show here:
Another caveat: this requires a SD CoreML model file that matches your style / prompt requirements (oil painting style or pastel painting style is particularly difficult to achieve). This adds another layer of complication with token count limits, in my case 75 positive and 75 negative tokens! In fact this example uses three different SD CoreML model files, which are automatically switched at different crop levels, developed heuristically for my needs.
Recap & Conclusion
I can create very-high-resolution results on very-low-end hardware. This even runs on battery, with no fan. I can overcome signiciant technical and creative barriers using human ingenuity and patience, instead of relying on luck or beefy hardware. It's an interesting challenge to create a bespoke process for one narrow type of image generation.
The code for this is in my Mochi Diffusion more-customizations branch but is very unsupported, and very experimental. An exercise for the reader, if ever there was one. You're on your own. Here Be Dragons.